
LipoCharger v2

LipoCharger v2 Summary
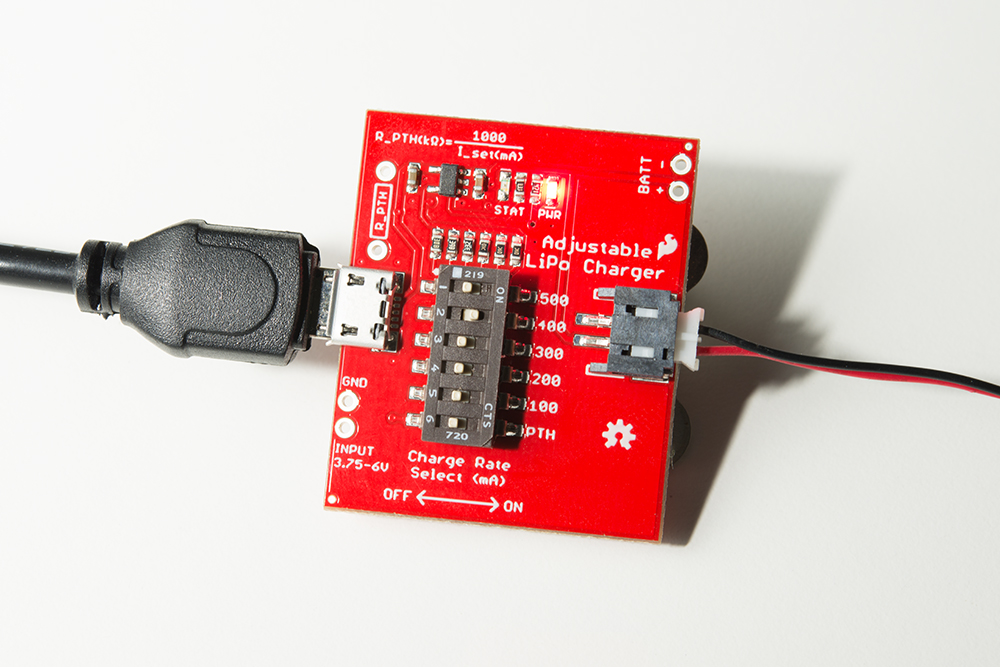
LipoCharger is designed to take power from a micro USB connector and charge a single-cell LiPo battery. There are five switchable charge rates, from 100 to 500mA. The 100mA rate is the best choice for our 120mAh and 160mAh cells, the 400mA rate is ideal for our 400mAh cells, and the 500mA rate is best for our 850mAh and larger cells.
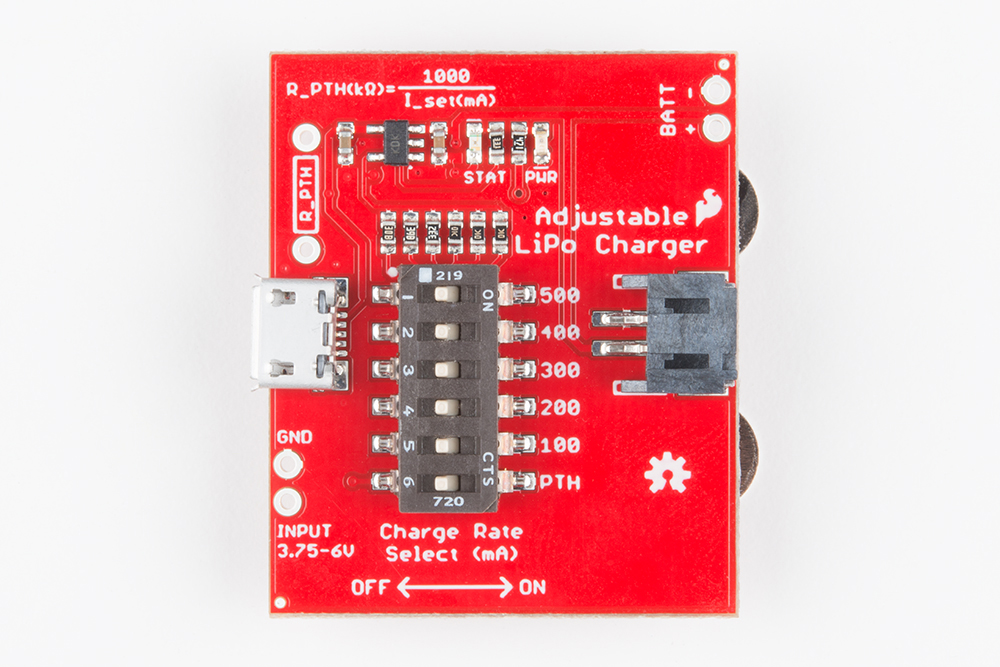
Hardware Overview
For a quick reference, here is an annotated diagram of the parts used on the Adjustable LiPo Charger:
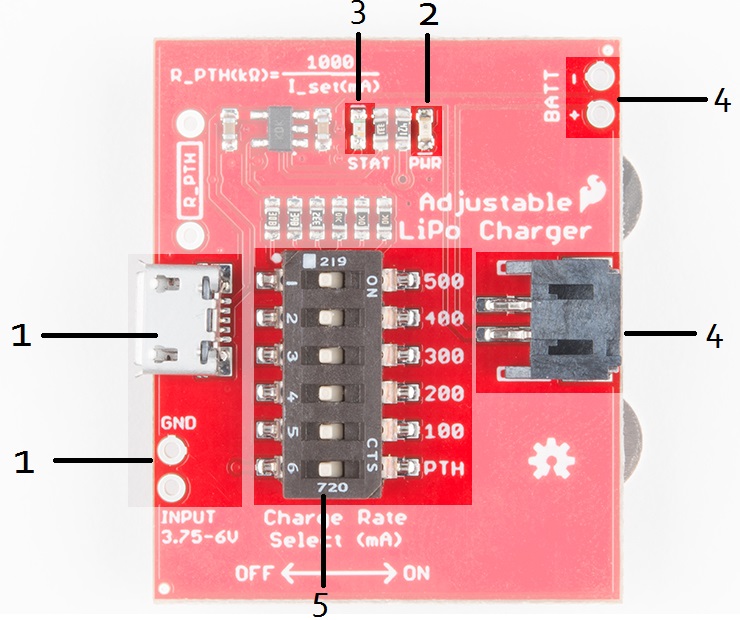
| 1 | Charge Input - The input voltage for the MCP73831 charge IC is between 3.75V to 6V. To fully charge a LiPo battery, it is recommended to have a voltage of around 5V. The charge IC will regulate the voltage down to safely charge the LiPo battery. (Up to 500mA of current may be required depending on the charge rate). |
|---|---|
| 2 | Power LED - When power is supplied, this red LED should turn on. |
| 3 | Status LED - When a battery is connected, the blue status LED should turn on. When the battery is fully charged, the LED will turn off. |
| 4 | Battery Input - Only one battery should be charged at a time. There are a total of 3 battery inputs: JST connector, PTH pins, 2450 coin cell holder (on the back). |
| 5 | Charge Rate Select - Selects the maximum amount of current to charge the battery. For a detailed explaination, see the Battery Charging section of this guide. |
Charge Status LED
The on-board blue STAT LED can be used to get an indication of the charge status of your battery. Below is a table of other status indicators depending on the state of the charge IC.
| Charge State | LED status |
| No Battery | Floating (should be OFF, but may flicker) |
| Shutdown | Floating (should be OFF, but may flicker) |
| Charging | ON |
| Charge Complete | OFF |
Hardware Assembly
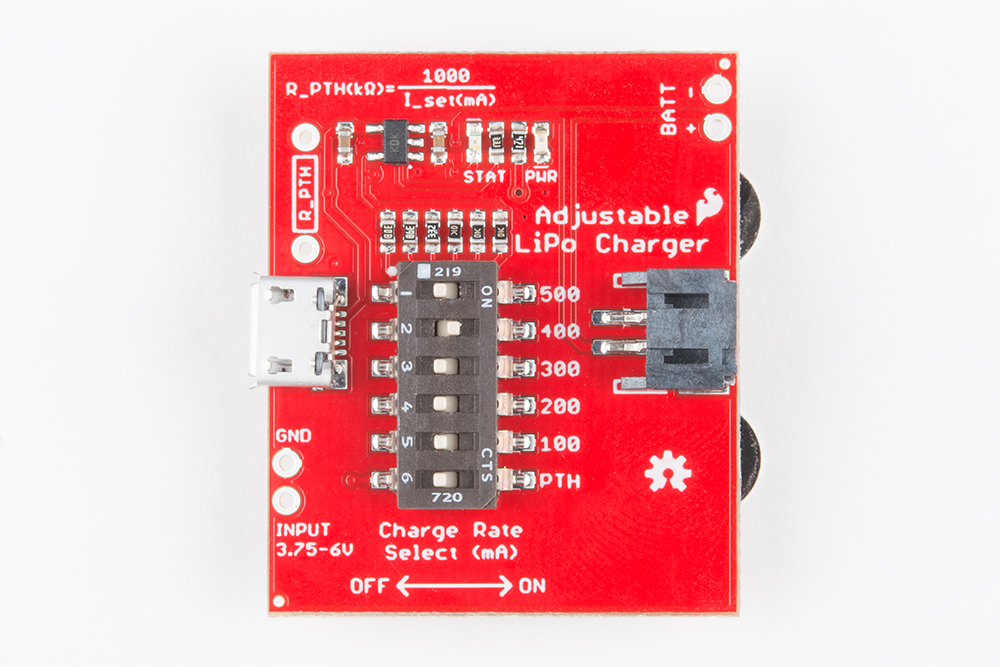
Before connecting anything to the Adjustable LiPo Charger, it's important to make sure the board is configured properly.
The switches on the Adjustable LiPo Charger come shipped with all the switches in the ON position. Before configuring the board, all the switches should be moved to the OFF position.
Setting the Charge Rate
Regardless of the size of the battery, it's important to keep in mind the charge rate of the battery. Every time a battery is charged and discharged, it causes wear on the battery. As the battery starts to wear down, the capacity of the battery slowly decreases until it's unable to hold a charge. Setting the charge rate comes with the trade off of lifespan and charge time; the faster the battery is charged, the shorter the life of the battery.
Rechargeable lithium batteries have a maximum recommended charge and discharge rate measured in "C". All of the single cell LiPo/Li-Ion batteries we currently sell have a maximum recommended charge/discharge rate of 1C. Other battery chemistries allow for faster rates of 10C or even 40C. A 1000mAh battery with a 1C charge rate would charge the battery at 1000mA of current. The same 1000mAh battery charged at 500mA of current would be 0.5C.
To set the charge rate, move the appropriate DIP switch from the off position to the ON position by sliding it to the right as seen below:
As a general rule of thumb when selecting a charge rate on the DIP switches, select the charge rate that best matches the capacity of your battery (e.g. 440mAh battery should be charged at 440mA MAX).
Setting a Custom Charge Rate
If you want to charge a battery smaller than 100mAh, or have a battery thats in between the values on the switch and would like to have exactly a 1C charge rate, you'll need to set a custom charge rate. The MCP73831 charge rate controller sets the maximum charge current with a resistor. To calculate the resistor needed, you can use the following formula from the datasheet:
If you wanted to set the charge rate to 40mA for example, a 25kΩ resistor will need to be solderedinto the unpopulated pins next to the micro-B USB connector. To use that charge rate, move all of the DIP switches to the OFF position and move the DIP switch labeled "PTH" to the ON position.
Battery Charging
Once the board is configured for the battery, you can connect power from either a micro USB cable or the pins below the USB connector labeled "GND" and "INPUT". To fully charge a LiPo battery, it is recommended to have a voltage of around 5V when connecting to those through hole pins. The charge IC will regulate the voltage down to safely charge the LiPo battery.
Once power is connected, you can then install a single LiPo battery to one of the three battery connectors outlined in the Hardware Overview section of this guide. If you're using the rechargeable coin cell battery, make sure the battery is installed in the correct orientation to avoid damaging the battery.
If using the coin cell battery holder, do NOT install any type of battery other than the rechargeable coin cell battery. Most other coin cell batteries are not rechargeable and will not work with this charger.
Once the battery is installed, the blue status LED should turn on as shown below:
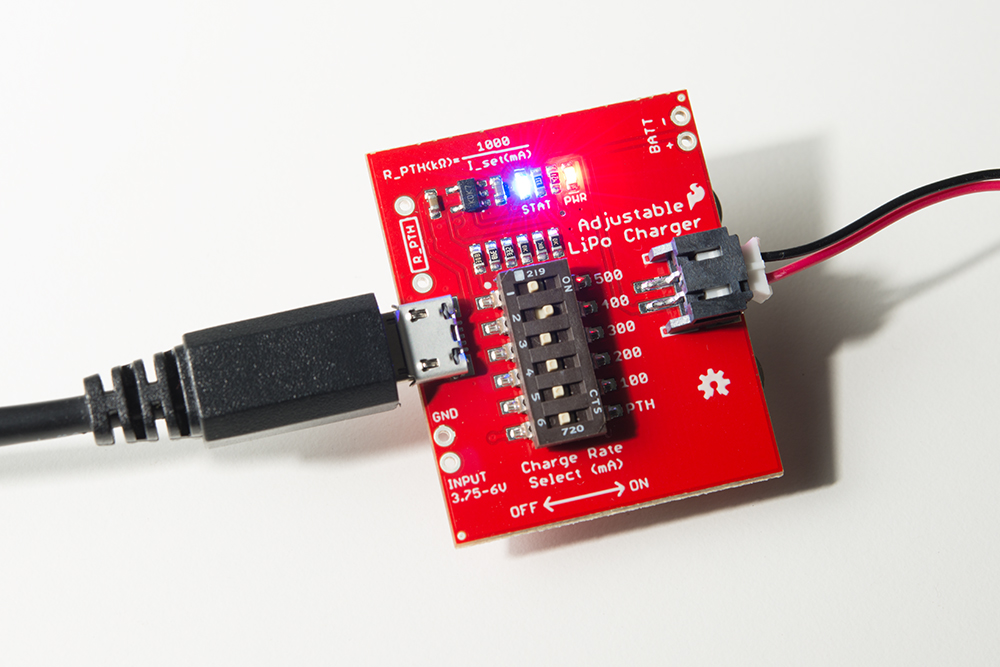
Charging is complete when the status LED turns off.

Related Products

120mAh Polymer Lithium ..

400mAh Polymer Lithium ..

900mAh Polymer Lithium ..
